✔ Competitive Pricing ✔ Quality Service ✔ Extensive Stock ✔ Experienced Staff





 01726 828 388


Reset Filter
 Price
PriceHow to Use a Planer Thicknesser
Guide to Setting Up and Using a Planer Thicknesser
This guide provides a practical introduction to setting up and using a planer thicknesser safely and effectively. Whether you are new to woodworking or looking to refresh your knowledge, following the procedures in this guide will help you produce flat, straight, and consistently sized timber while maintaining safe workshop practices.
Safety First
Before using any planer thicknesser:
* Wear safety glasses and hearing protection.
* Avoid loose clothing, jewellery, and long untied hair.
* Check that cutter guards are fitted and operating correctly.
* Ensure extraction is connected and running.
* Never place hands directly over the cutter block.
* Do not machine timber containing nails, screws, stones, or other foreign objects.
* Read the manufacturer's manual for your specific machine.

Initial Setup
1. Position the machine
Place the machine on a stable, level floor with enough clearance for long boards entering and exiting. Check that the machine is secure, the tables are clean and free of rust and all controls move freely.
2. Connect dust extraction
Planer thicknessers generate large amounts of shavings. Connect a suitable dust extractor, ensure hoses are not kinked and make sure to check airflow before use. Good extraction improves both safety and finish quality.
3. Inspect the cutter blades
Check for damage, chips or resin build up. Check the blades are not loose. Ensure knives are sharp: blunt knives can cause tear-out, poor finish, excessive effort and increased risk of kickback.
4. Check table alignment
For accurate planing the infeed table should be slightly lower than the cutter circle. The outfeed table should be level with the knife's highest point. Poor alignment causes snipe, uneven surfaces and incorrect edge jointing.
Surface Planing a Board
The first step is always creating one flat face.
1. Set the depth of cut
For rough-sawn timber a typical depth of cut is 1-2 mm, while finishing passes should be limited to 0.5-1 mm. Avoid taking excessively deep cuts.
2. Adjust the guard
Set the cutter guard to expose only the amount of cutter required.
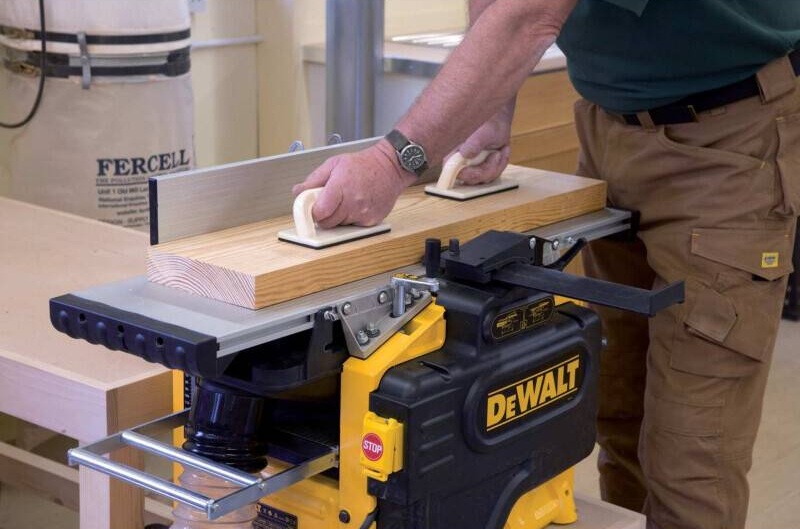
3. Feed the timber
1 - Place the board on the infeed table.
2 - Keep pressure near the leading end.
3 - Feed with the grain where possible.
4 - Transfer pressure to the outfeed table as the board passes over the cutter.
Continue until the face is completely flat.
4. Plane one edge
Place the newly flattened face against the fence, plane the edge until it is straight and square. You should now have one flat face and one square edge, these become your reference surfaces.
Converting to Thicknessing Mode
The exact process varies by machine.
Typically:
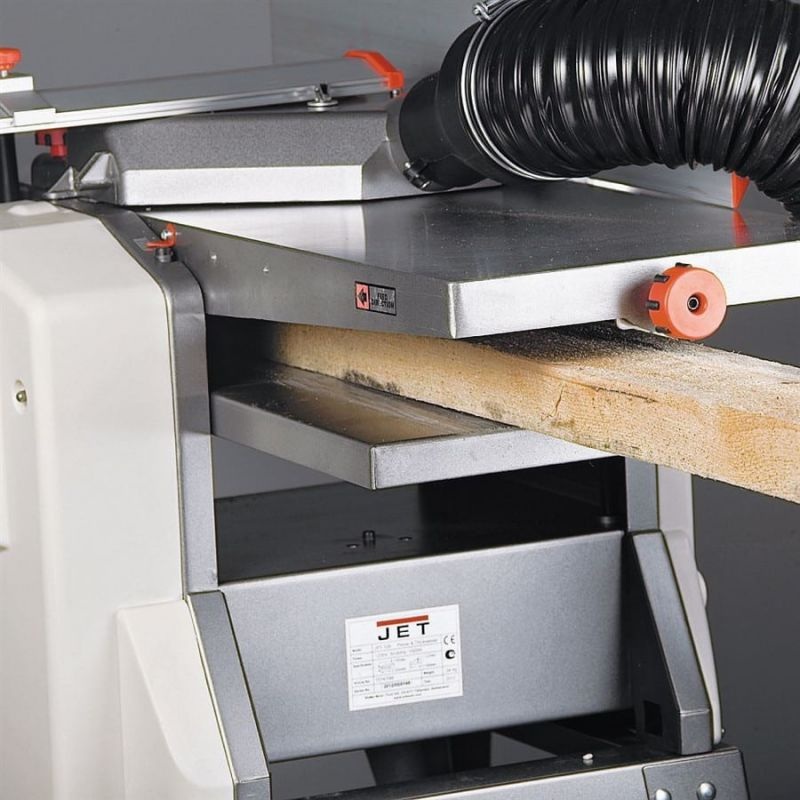
1 - Raise or fold the planer tables.
2 - Move the extraction hood into thicknessing position.
3 - Set the thicknessing bed.
Always ensure all locks are engaged before starting.
Thicknessing a Board
1. Set the required thickness
Measure the timber with calipers or a rule. Set the thicknessing table slightly above the finished size for the first pass. For example: if the desired thickness is 20mm, the initial setting should be 22mm.
2. Feed the board correctly
Place the board flat face down with the square edge towards the fence (if fitted). The machine's feed rollers will pull the timber through automatically, do not push forcefully.
3. Take multiple passes
When thicknessing timber, typical cuts are up to 2mm for softwood and between 0.5mm and 1.5mm for hardwood. Taking lighter cuts will generally produce a better surface finish.
4. Finish at final dimension
Make the last pass at a very small cut (around 0.5mm or less) for the best surface finish.
Quick Rule to Remember
Plane → Square → Thickness
1 - Create one flat face.
2 - Create one square edge.
3 - Thickness the opposite face to the required dimension.
Following this sequence ensures timber is flat, square, parallel, and ready for accurate woodworking projects.
Avoiding Common Problems
Snipe
Snipe is a deeper cut at the beginning or end of a board. To reduce it: support long boards, keep tables properly aligned, maintain pressure correctly and use infeed and outfeed rollers or stands.
Tear-out
The lifting and tearing of grain. Reduce by feeding with the grain, using sharp knives and taking lighter cuts.
Burning or poor finish
This is usually caused by blunt blades, dirty tables or feeding too slowly.
Routine Maintenance
After use:
* Vacuum chips and dust.
* Clean tables.
* Apply a light protective wax to cast iron surfaces.
* Check belt condition.
* Inspect knives regularly.
* Lubricate height-adjustment mechanisms as recommended by the manufacturer.
See our Range of Planer Thicknessers
No items in this category